A broken fence post might seem minor, but it can escalate into a serious problem if ignored. Not only does it compromise your fence’s structure, leaving your yard exposed, but it also affects your property’s appearance.
If you’ve ever struggled with a leaning or sagging fence, you are not alone. Knowing how to fix broken fence post efficiently is essential for any homeowner.
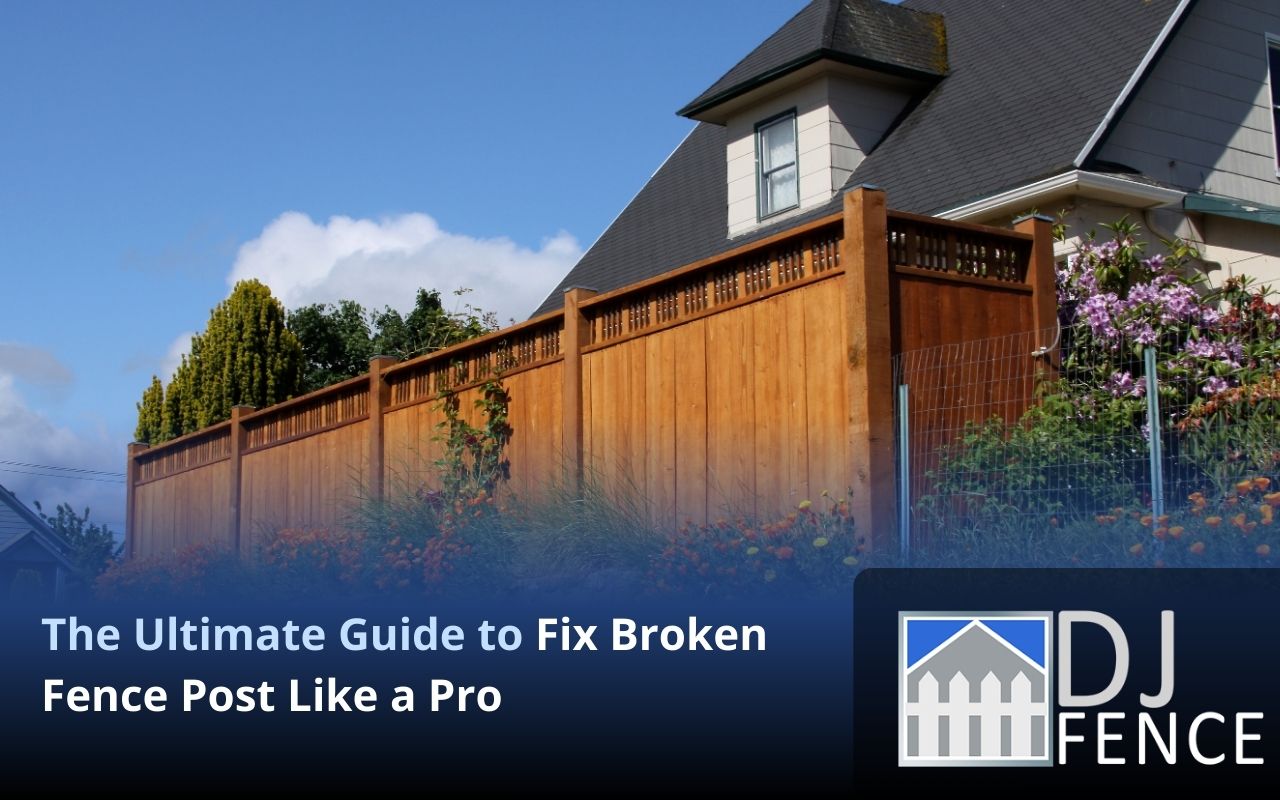
This guide turns frustration into a manageable DIY project. Imagine walking through your garden, only to find a strong wind has left your fence misaligned.
Instead of fearing expensive repairs, you can fix broken fence post yourself with proper guidance, tools, and preparation.
Whether your fence is wood, vinyl, or metal, this guide provides knowledge and confidence to restore your fence to full security and style.
Assessing the Damage
Begin with a thorough inspection of the broken fence post and surrounding area. Look for rot, cracks, rust, or warping. Examine fence panels, rails, and attachments carefully. Detailed notes and photos help in planning repairs.
Determine whether damage is isolated to one post or involves multiple posts and panels. Minor leaning may be fixable, while severe rot often requires replacement. This decision ensures your DIY effort is appropriate.
Assessing damage upfront helps anticipate challenges during the repair process, making solutions more effective and long-lasting.
Gathering the Necessary Tools and Materials
Before starting, collect all tools and materials needed to fix broken fence post damage. Essential tools include a post hole digger, level, tape measure, shovel, saw, hammer, and drill.
Materials include a replacement post matching your fence type, concrete mix or gravel, galvanized nails or screws, and any replacement rails or panels.
For wood fences, use treated lumber or cedar. Vinyl and metal fences require compatible brackets and fasteners. Protective equipment—gloves, safety glasses, and sturdy shoes—keeps you safe.
Removing the Broken Post
Clear soil and debris around the post base. Use a shovel to expose concrete or gravel footing. For concrete, break it with a sledgehammer. For gravel, dig deeper until the post lifts free.
Protect nearby panels and landscaping with a tarp. Wiggle the post to break bonds, using a block of wood and pry bar for leverage if necessary. Remove hidden fasteners or brackets.
Thorough removal prevents interference with the new post installation, ensuring a stable foundation.
Preparing the Hole for the New Post
Clear out loose soil until the hole is six inches wider than the post. Add gravel or concrete evenly around the base. Follow local building codes for proper depth.
Place a four-inch gravel layer at the bottom to prevent water accumulation. Use a level to check the bottom is flat. Adjust gravel as needed. Proper preparation prevents soil shifting and erosion.
Selecting a Replacement Post
Choose a post suitable for your fence type. Wood options include pressure-treated pine, cedar, or redwood. Match dimensions and ensure height covers underground and above-ground portions.
Vinyl or metal fences require posts compatible with your system. Consider climate and soil. In wet regions, galvanized or stainless-steel posts prevent corrosion. Strong posts and concrete footing ensure stability in high winds.
Securing the New Post in Place
Position the post in the hole, centered and upright. Check vertical alignment with a level. Brace with stakes or lumber during concrete pouring. Follow manufacturer’s instructions for concrete. For gravel, compact layers firmly. Allow concrete to cure before removing braces. Proper securing ensures long-lasting fence stability.
Reattaching the Fence Panels
Align panels with the new post and secure using screws or bolts. Pre-made brackets may be used. Check alignment with a level. Replace damaged boards if needed. Tap sections gently to confirm they are secure.
Adding Finishing Touches and Paint
Apply wood preservative, primer, and paint or stain for wood fences. Clean vinyl posts and use UV-resistant sealant. Check hardware and trim excess concrete or gravel. Reinstall decorative elements. Sweep debris and water soil lightly. These finishing touches enhance curb appeal and fence longevity.
Frequently Asked Questions
How do I know if my fence post can be repaired or replaced?
Inspect for rot, cracks, or leaning. Minor leaning may be repaired; severe rot usually requires replacement.
What tools are essential to fix broken fence post?
Post hole digger, level, tape measure, shovel, saw, hammer, drill, and safety equipment are recommended.
Can I fix a vinyl or metal fence post myself?
Yes, ensure you use compatible brackets and fasteners. Follow proper hole preparation and alignment steps.
How long should concrete cure before stressing the new post?
Concrete typically requires 24 to 48 hours to cure fully before supporting any fence panels.
Next Steps for a Secure Fence
Now that your fence is repaired, consider learning more tips to maintain it. Explore how to repair wooden fences for ongoing upkeep.
If you need professional assistance or guidance, contact DJ Fences today to ensure long-term stability and appearance.