There’s something magical about a well-tended garden—it’s a retreat away from daily life. Yet, even the most idyllic garden loses charm if the fence is in disrepair. Cracked or missing panels, leaning posts, and peeling paint compromise safety and privacy. That’s where fence repair do yourself comes in, restoring both aesthetics and security. Empower yourself with DIY knowledge and gain pride when the job is done correctly. This guide shares simple strategies to tackle common fence issues and enhance your garden’s beauty.
Assessing the Fence Damage
Before starting a fence repair do yourself project, inspect the entire fence carefully. Check panels, posts, and gates for rot, cracks, or insect damage. On vinyl or metal fences, look for dents, loose fasteners, or weakened material. Note leaning sections or wobbly posts. Once identified, classify the damage as cosmetic or structural. Cosmetic issues like minor cracks can be fixed with sanding and painting. Structural problems, including broken panels or rotten posts, need extensive repair. Document your findings with photos and a checklist. This ensures proper materials, time management, and avoids surprises.
Choosing the Right Tools and Materials
Essential Tools
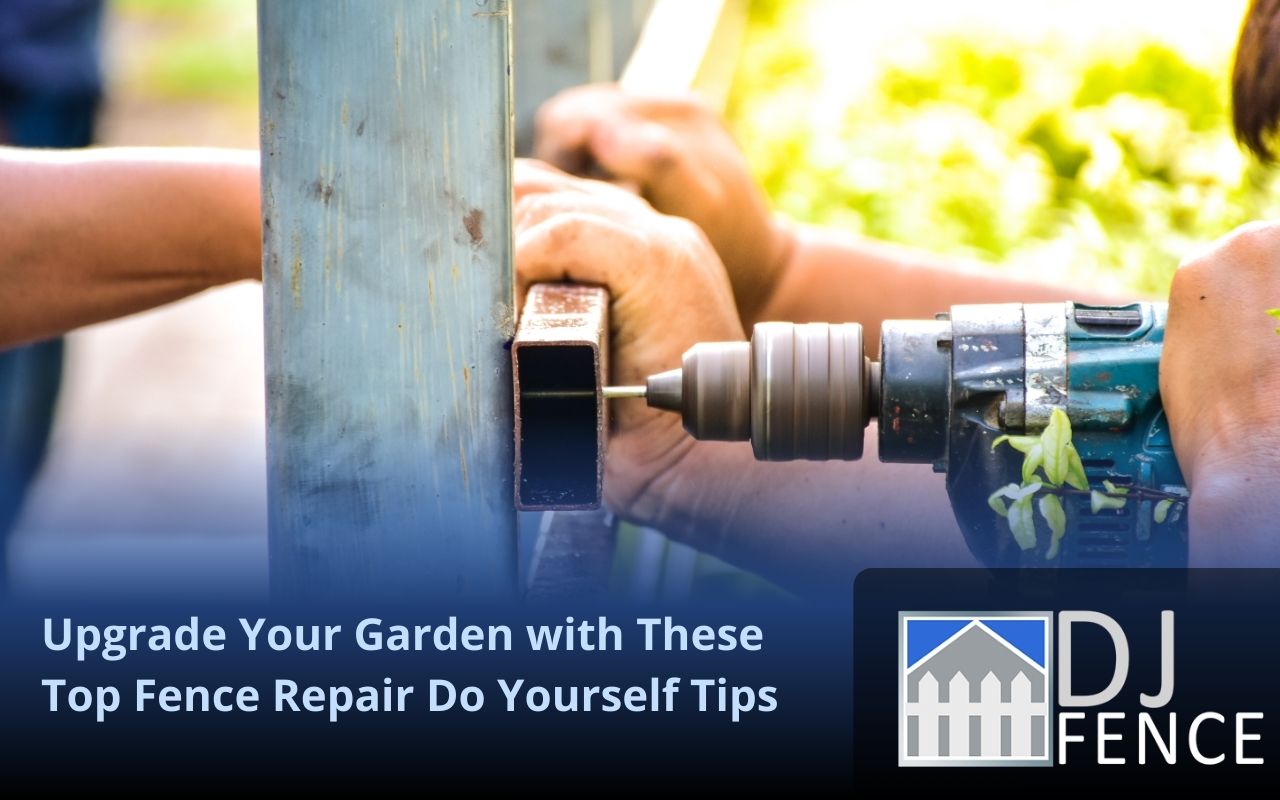
Basic tools like a hammer, nail gun, power drill with bits, level, measuring tape, work gloves, safety glasses, and a handsaw are essential. They allow accurate measuring, cutting, and securing of fence components, ensuring a smooth fence repair do yourself process.
Advanced Tools
For more complex repairs, consider a post-hole digger, concrete mixer or bucket, adjustable wrench, and pry bar. These help dig stable holes, set concrete, tighten connections, and remove old hardware efficiently, making the repair manageable.
Quality Materials
Material choice impacts the fence’s durability. Use pressure-treated or cedar wood for wooden fences and galvanized or stainless-steel fasteners. Vinyl fences require matching panels and brackets. Include sealants, primers, and exterior paint for long-lasting protection. Preparing all tools and materials upfront ensures efficiency and avoids delays.
Preparing the Work Area
Clear the workspace for your fence repair do yourself project. Remove shrubs, vines, or grass obstructing access. Use a tarp to catch debris and protect garden beds. Store materials and tools without crowding walkways. Warn passersby if near sidewalks or neighbors. Wear gloves, safety glasses, and dust masks when needed. Preparing properly speeds up work and reduces accidents.
Repairing Cracked or Broken Panels
Remove damaged panels carefully with a pry bar or hammer. Measure openings and cut replacement boards from pressure-treated wood or vinyl. Attach with rust-resistant nails or screws, and use a level for alignment. Replace warped rails if necessary. Attention to detail ensures your fence repair do yourself efforts are durable.
Reinforcing Leaning Posts
Leaning posts often result from soil deterioration or rot. Remove soil around the base and prop the post upright. Replace severely rotted posts with pressure-treated or cedar posts. Dig a hole at least a third of the post’s length, place the post, use a level, and brace securely. Pour concrete around the base, sloping away to prevent water pooling. Let concrete cure 24–48 hours. This prevents future tilting and maintains fence stability.
Fixing Peeling Paint
Surface Preparation
Scrape loose paint with a stiff scraper or wire brush. Sand stubborn flakes smooth to help new paint adhere. Proper preparation ensures a seamless finish.
Priming the Surface
Wipe down the fence with a damp cloth and let it dry. Apply an exterior-grade primer suitable for your fence material. Priming improves paint adhesion and durability.
Paint Application
Apply high-quality exterior paint in even strokes. Maintain a wet edge and consider two coats for better coverage. Proper layering enhances fence appearance and resists chipping. Following these steps gives a fresh, renewed look.
Maintaining Your Repaired Fence
After completing fence repair do yourself projects, inspect your fence twice a year for new damage. Clean surfaces, tighten or replace screws, and apply sealant or paint every few years. For vinyl fences, wash and apply UV protectant as needed. Consistent upkeep extends fence life and reduces future repair needs.
Frequently Asked Questions
How often should I inspect my fence for damage?
Inspect your fence visually at least twice a year. Catch minor issues early to avoid larger repairs.
What is the best time of year to perform fence repairs?
Early spring or late summer is ideal. Moderate temperatures and dry weather allow paint, primer, and concrete to cure properly.
Can I conduct fence repair do yourself projects without professional help?
Yes. Many homeowners successfully replace boards, tighten fasteners, and repaint. Safety and the right tools are key.
How do I prevent wood rot and decay after repairing a fence?
Use pressure-treated or rot-resistant wood like cedar. Apply sealant or paint and maintain proper drainage to prevent water pooling.
What are common mistakes to avoid when repairing a fence?
Avoid mismatched materials, skipping measurements, and ignoring surface prep. Always brace posts and follow curing times to ensure stability.
Enjoying Your Renewed Garden Sanctuary
Step back and admire your completed fence repair do yourself work. Upright posts, smooth paint, and sturdy panels enhance aesthetics and privacy. Maintain your fence regularly for lasting protection. Take pride in your effort. For more guidance, explore essential tools for fence repair, wooden fence repair techniques, or fence post repair tips. When ready for professional advice or support, contact us today.